Skip to content
Rugby Slate
Animated rugby moves, strategies and patterns to get you to the next level
Instagram
Facebook
Twitter
Menu
Attacking
Defending
Backs Moves
Forwards Moves
Scrum Moves
Lineout Moves
Positions
Game Management
RugbySlate Animator
Category:
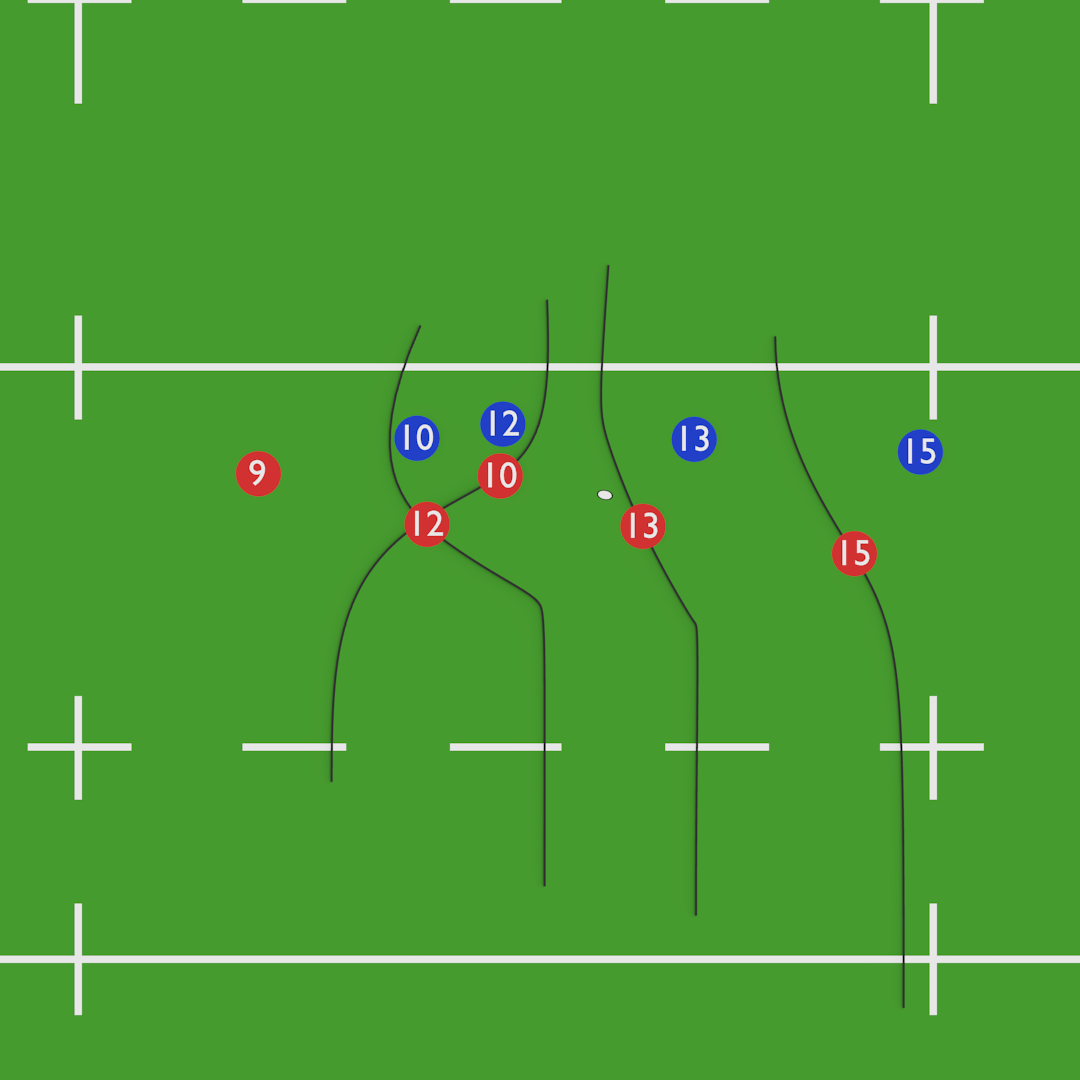
Crash
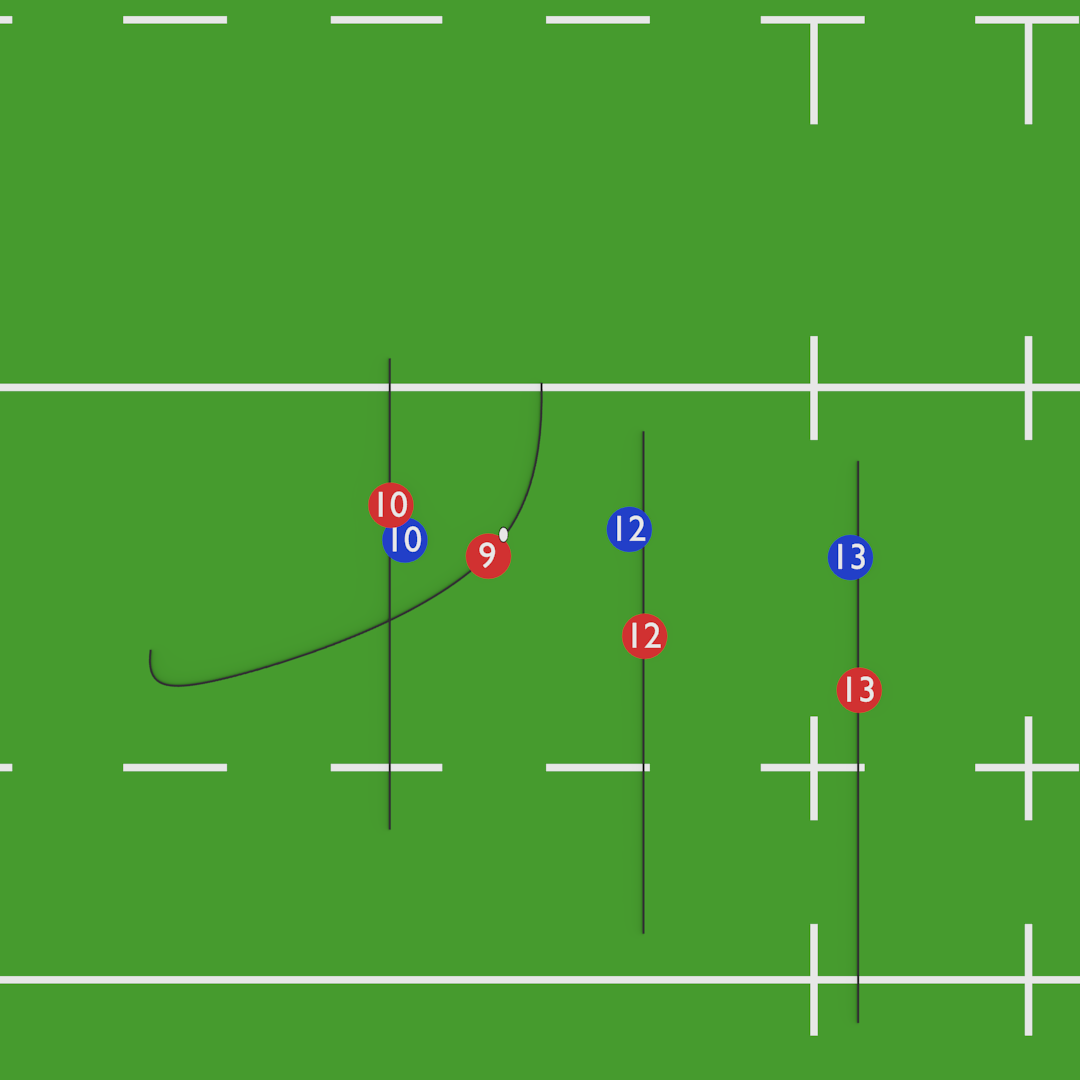
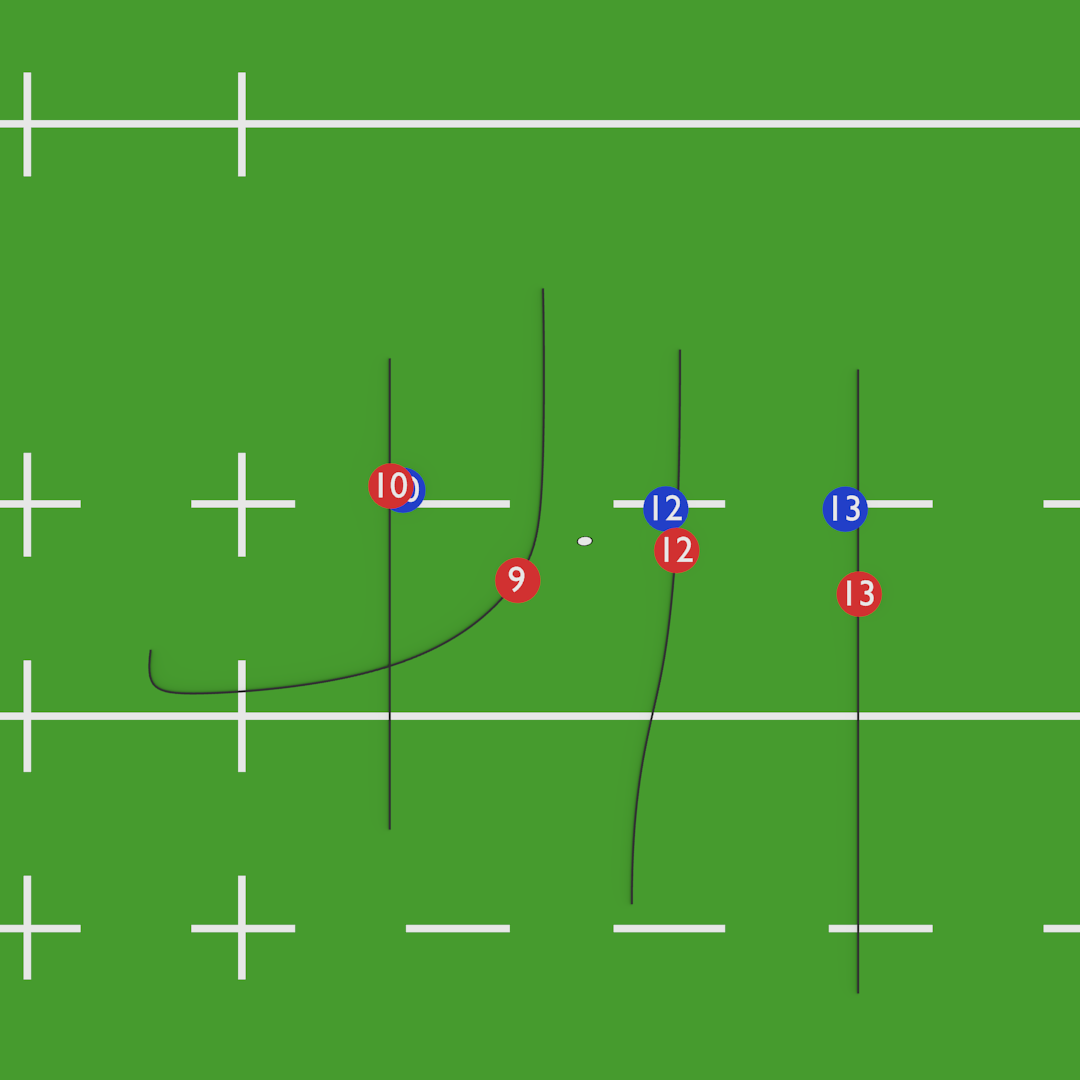
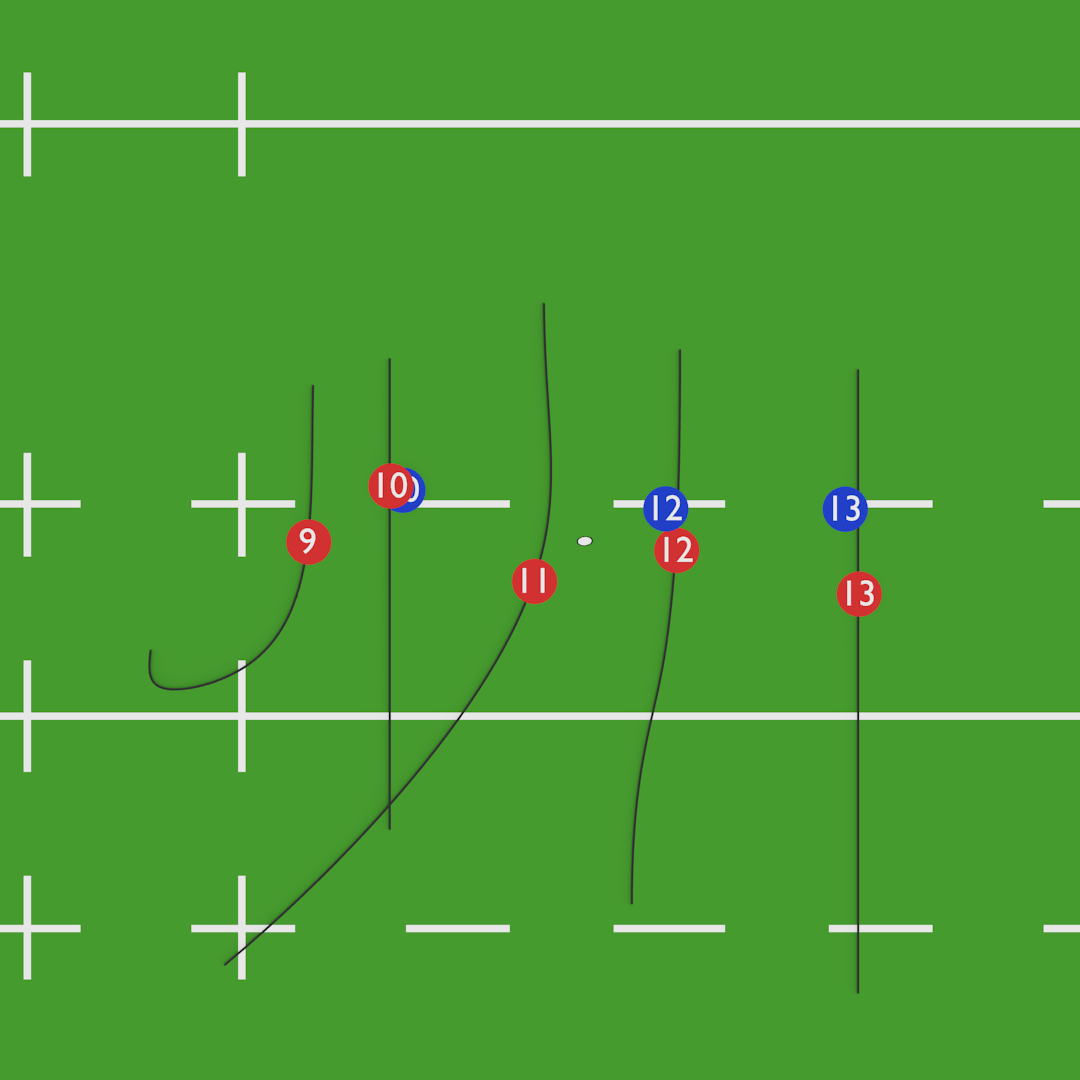
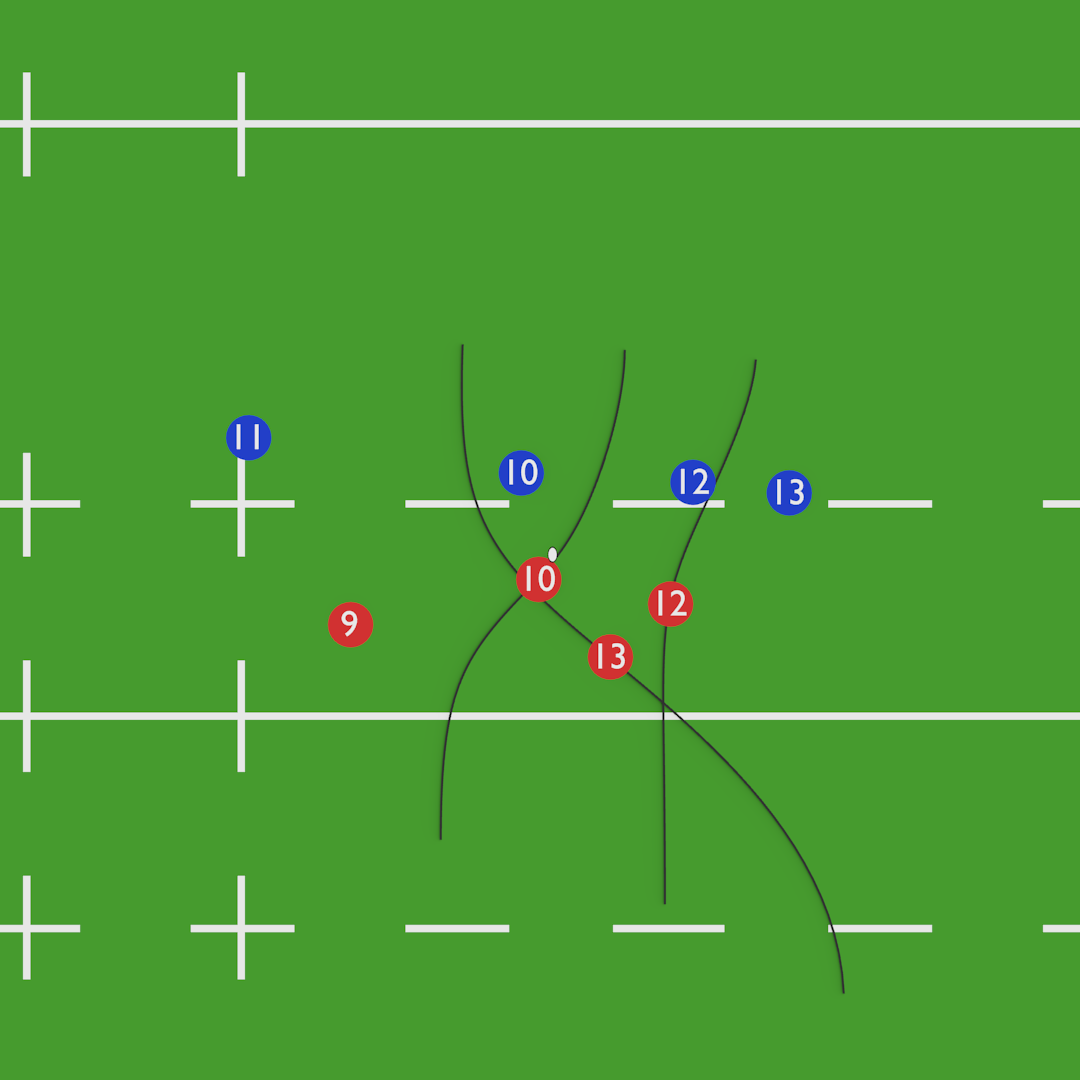
Dummy Switch Pop
Posted on
December 31, 2019
May 10, 2020
by
rugbyslate
Continue reading
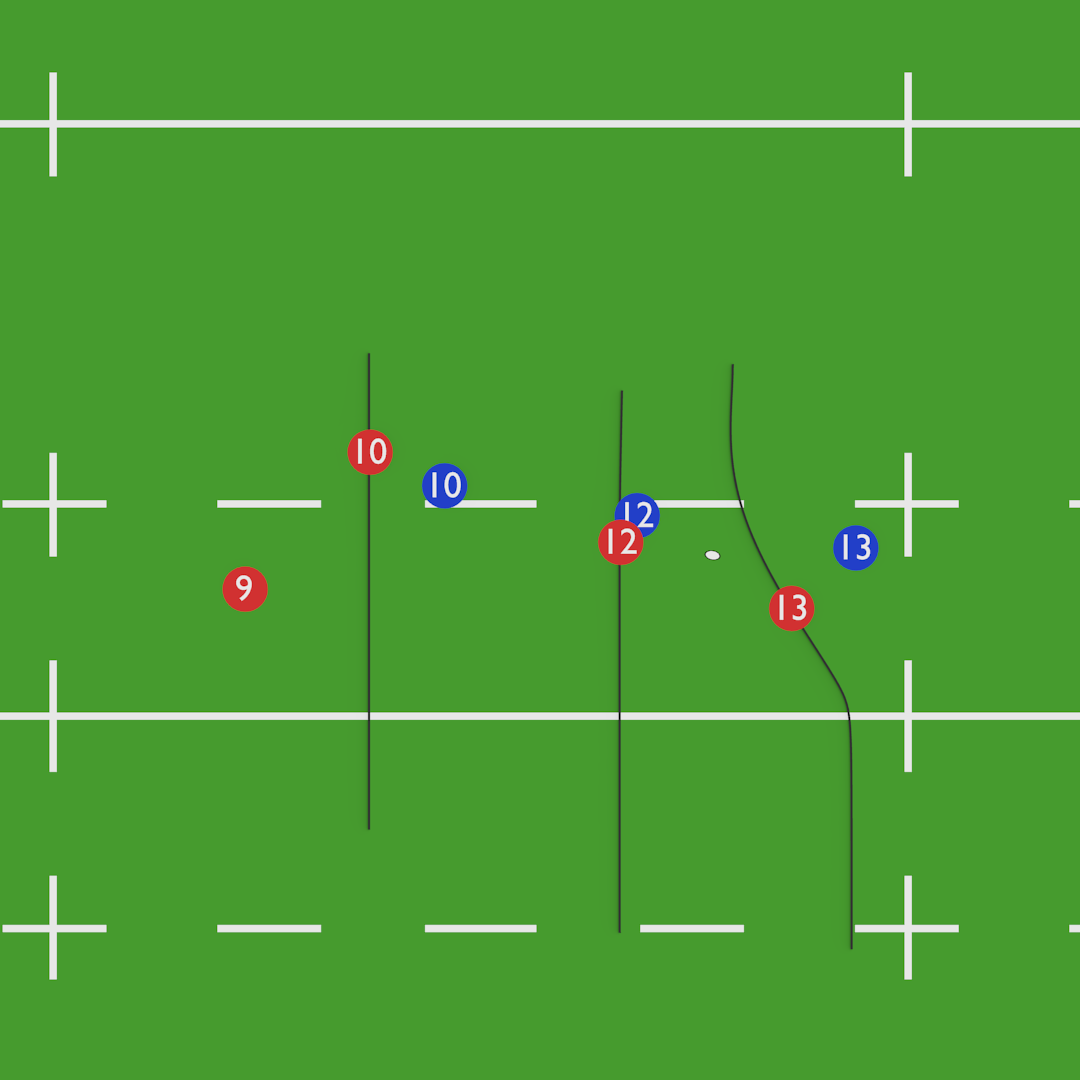
Crash 2 – 13
Posted on
December 8, 2019
December 8, 2019
by
rugbyslate
Continue reading
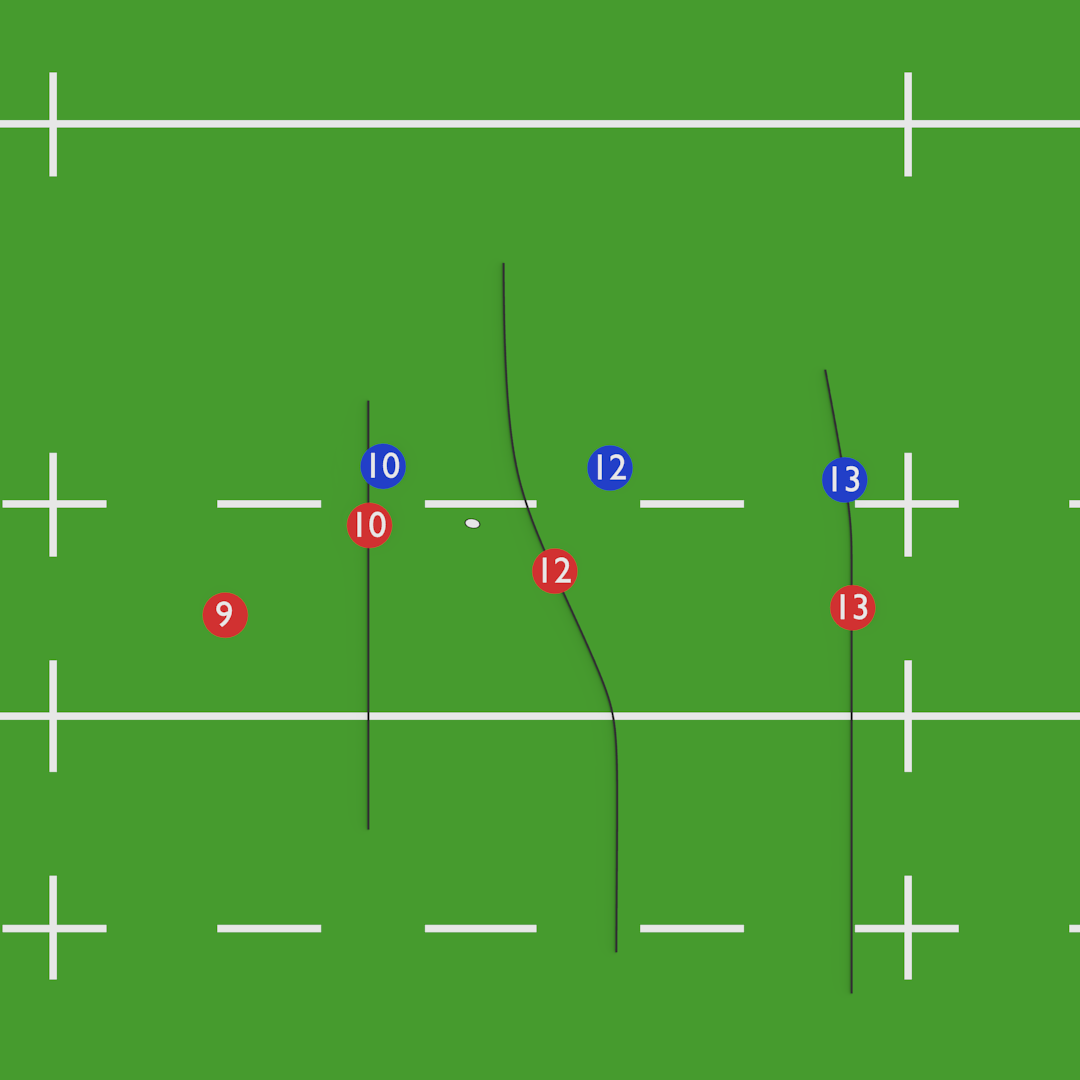
Crash 1 – 12
Posted on
December 8, 2019
December 8, 2019
by
rugbyslate
Continue reading
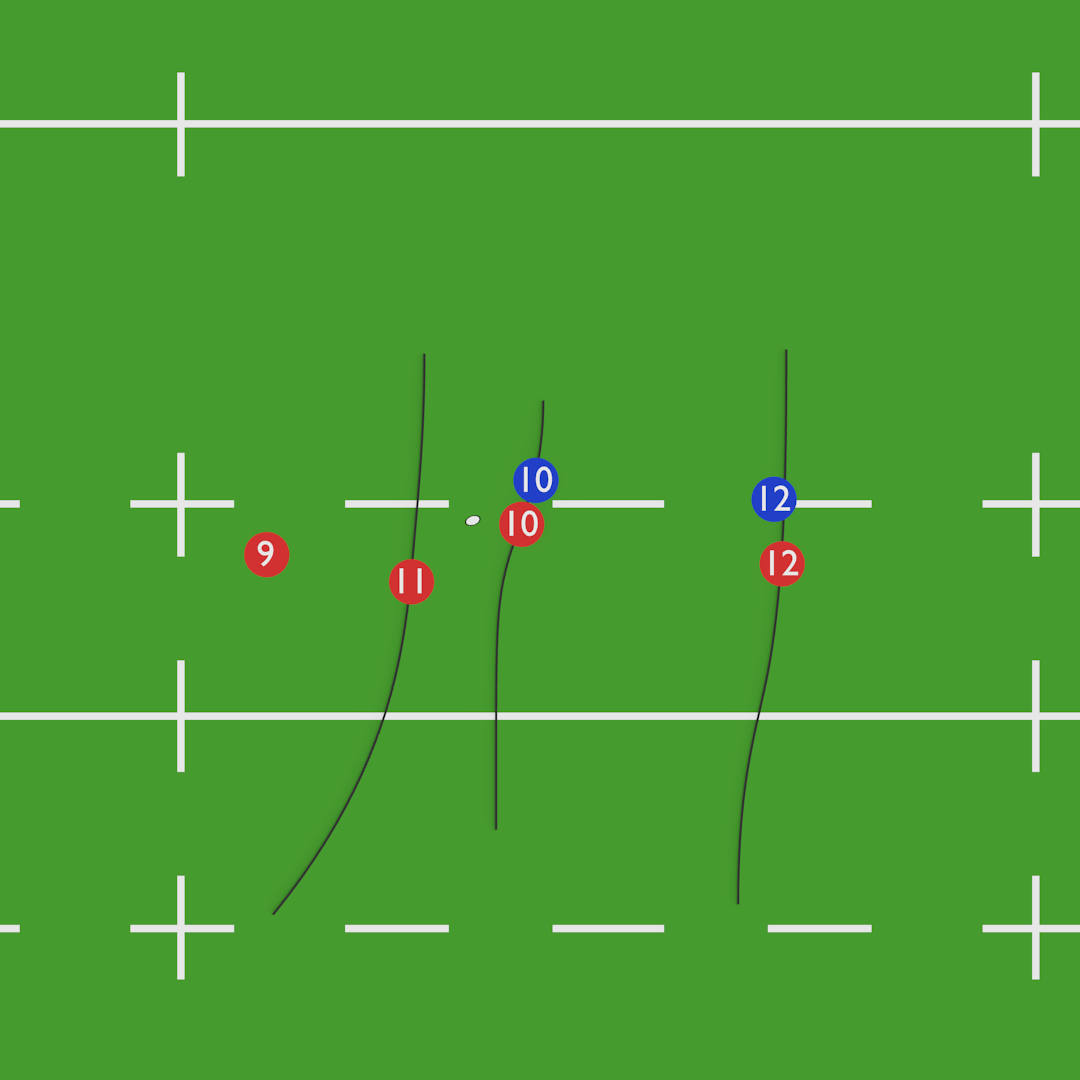
Crash 11
Posted on
December 8, 2019
December 8, 2019
by
rugbyslate
Continue reading
9 Loop – Crash
Posted on
November 26, 2019
November 29, 2019
by
rugbyslate
Continue reading
12 Inside Pop to 9
Posted on
November 26, 2019
November 29, 2019
by
rugbyslate
Continue reading
12 Inside Pop to 11
Posted on
November 26, 2019
May 10, 2020
by
rugbyslate
Continue reading
Rangy
Posted on
November 26, 2019
May 10, 2020
by
rugbyslate
Continue reading
Search for:
Search
Recent Posts
The Most Popular Rugby Backs Move
Shooter Defence
Flat Pods and Options
Manipulating the Defence – Separating the Forwards and Backs
Scrum Half Defensive Role
×