Skip to content
Rugby Slate

Rugby Slate

Animated rugby moves, strategies and patterns to get you to the next level

  • Instagram
  • Facebook
  • Twitter
  • Attacking
  • Defending
  • Backs Moves
  • Forwards Moves
    • Scrum Moves
    • Lineout Moves
  • Positions
  • Game Management
  • RugbySlate Animator

Category: 12 – 13

Slice 2 – In

Posted on December 31, 2019May 10, 2020 by rugbyslate
Continue reading
12 - 13, Backs Moves, Switch
Leave a comment

Screen 1

Posted on December 31, 2019May 10, 2020 by rugbyslate
Continue reading
12 - 13, Backs Moves, Miss
Leave a comment

Dummy Switch Pop

Posted on December 31, 2019May 10, 2020 by rugbyslate
Continue reading
12 - 13, Backs Moves, Crash, Switch
Leave a comment

Crash 2 – 13

Posted on December 8, 2019December 8, 2019 by rugbyslate
Continue reading
12 - 13, Backs Moves, Crash
Leave a comment

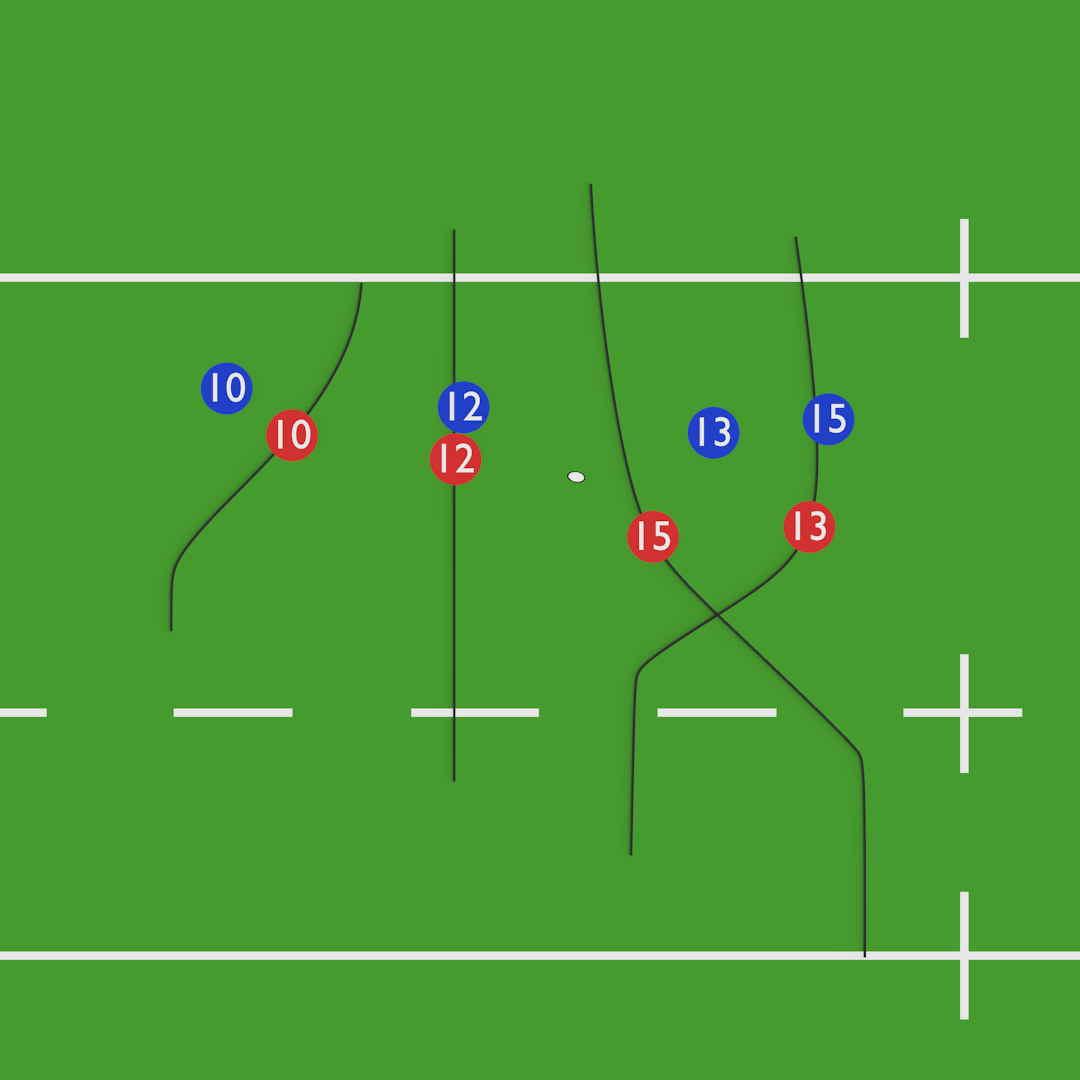
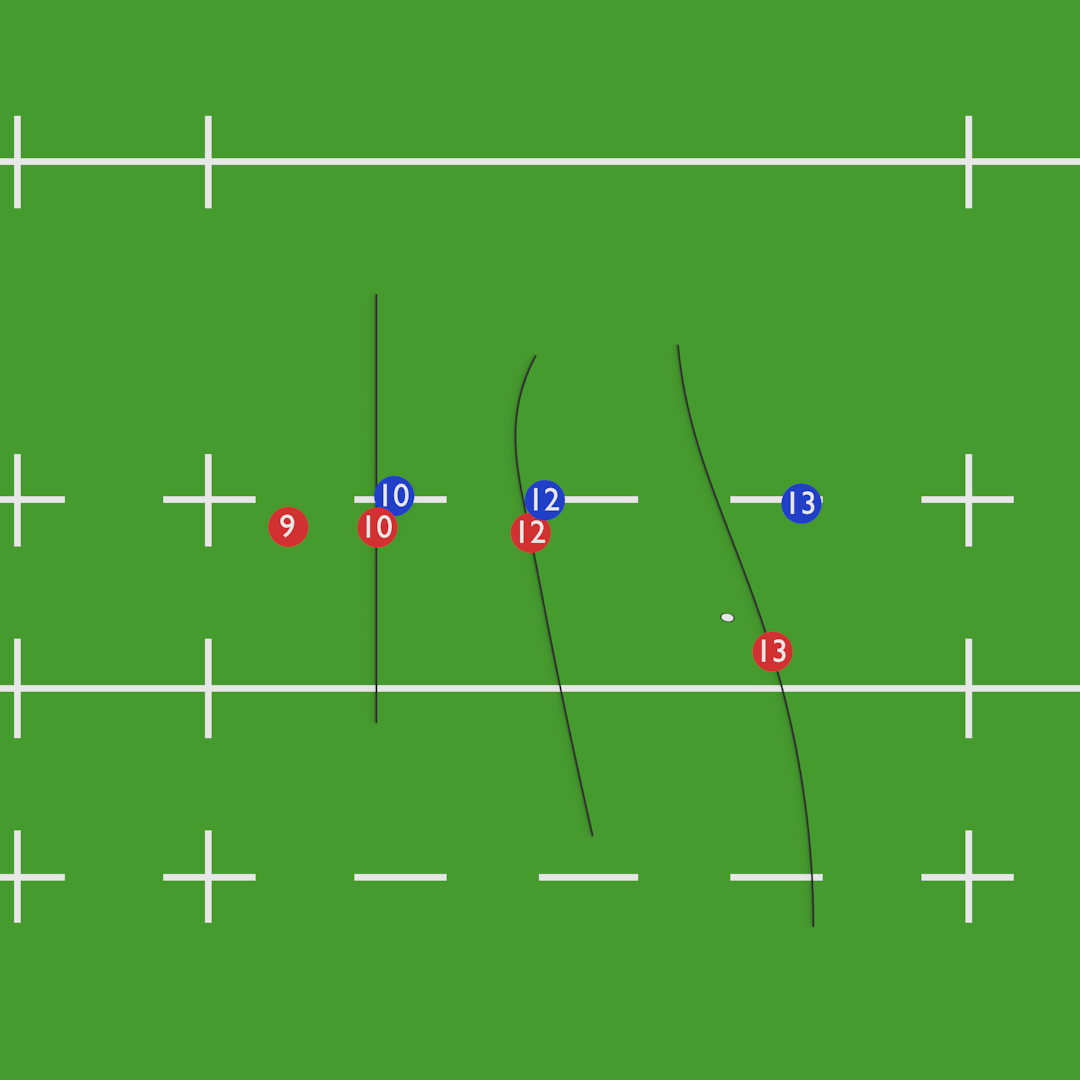
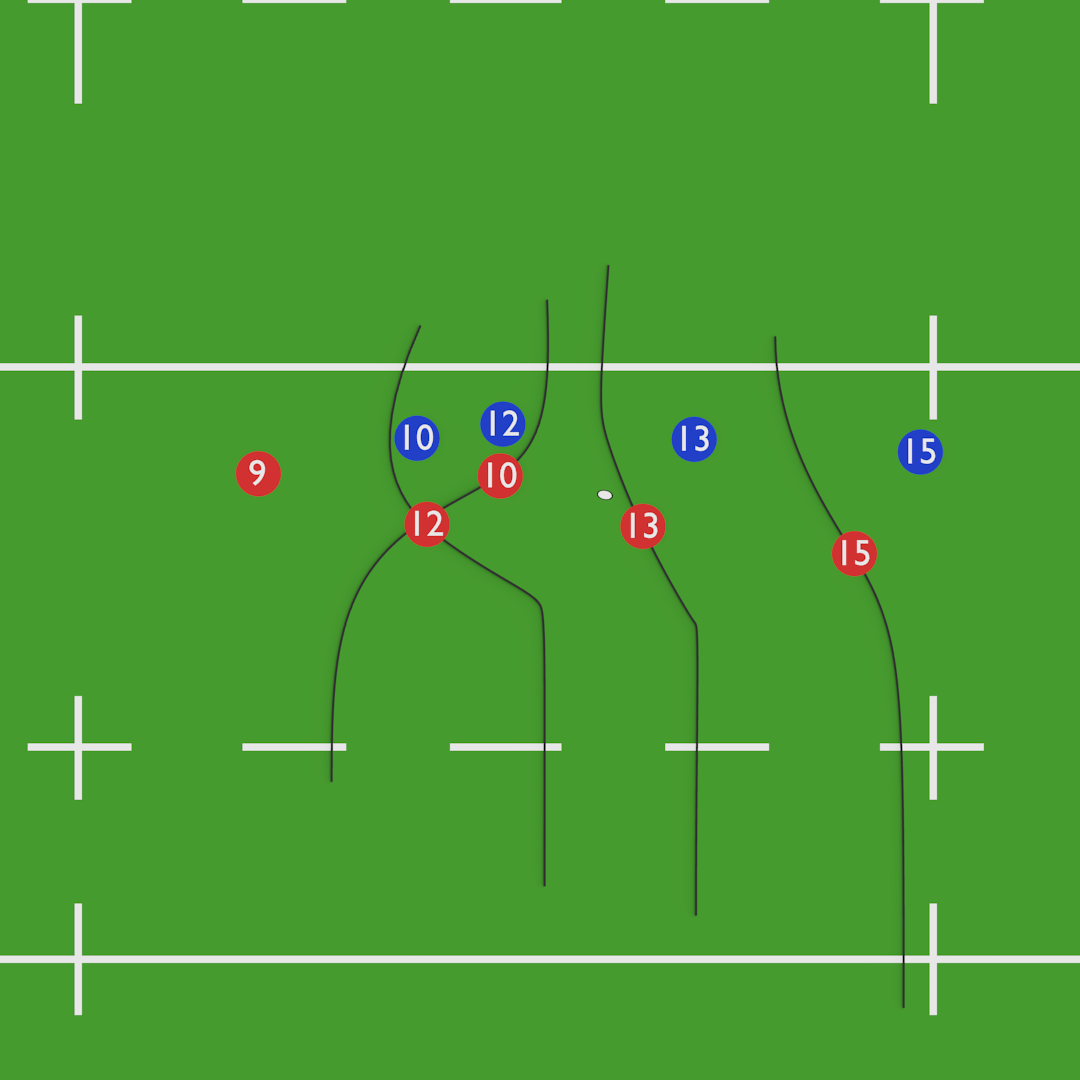
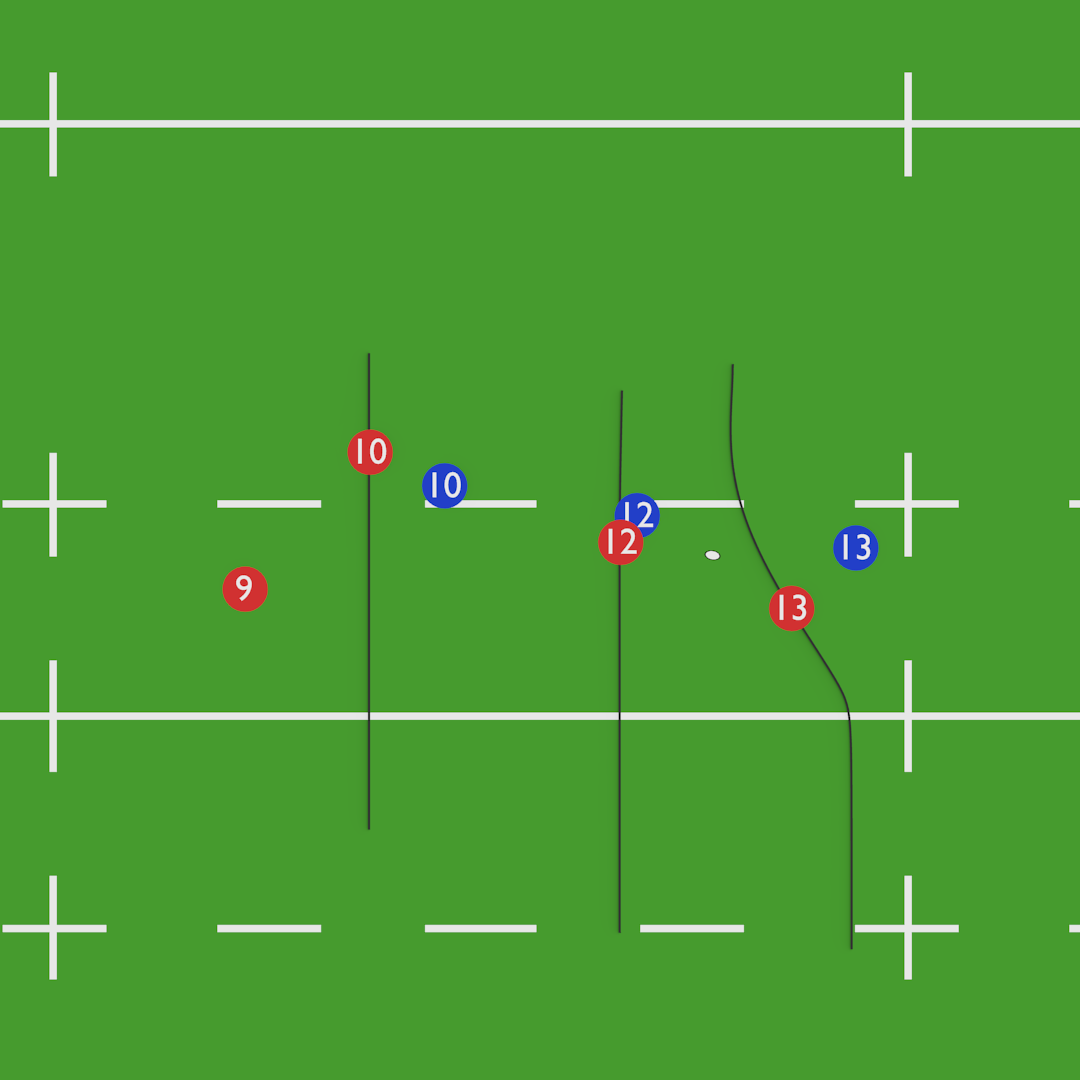
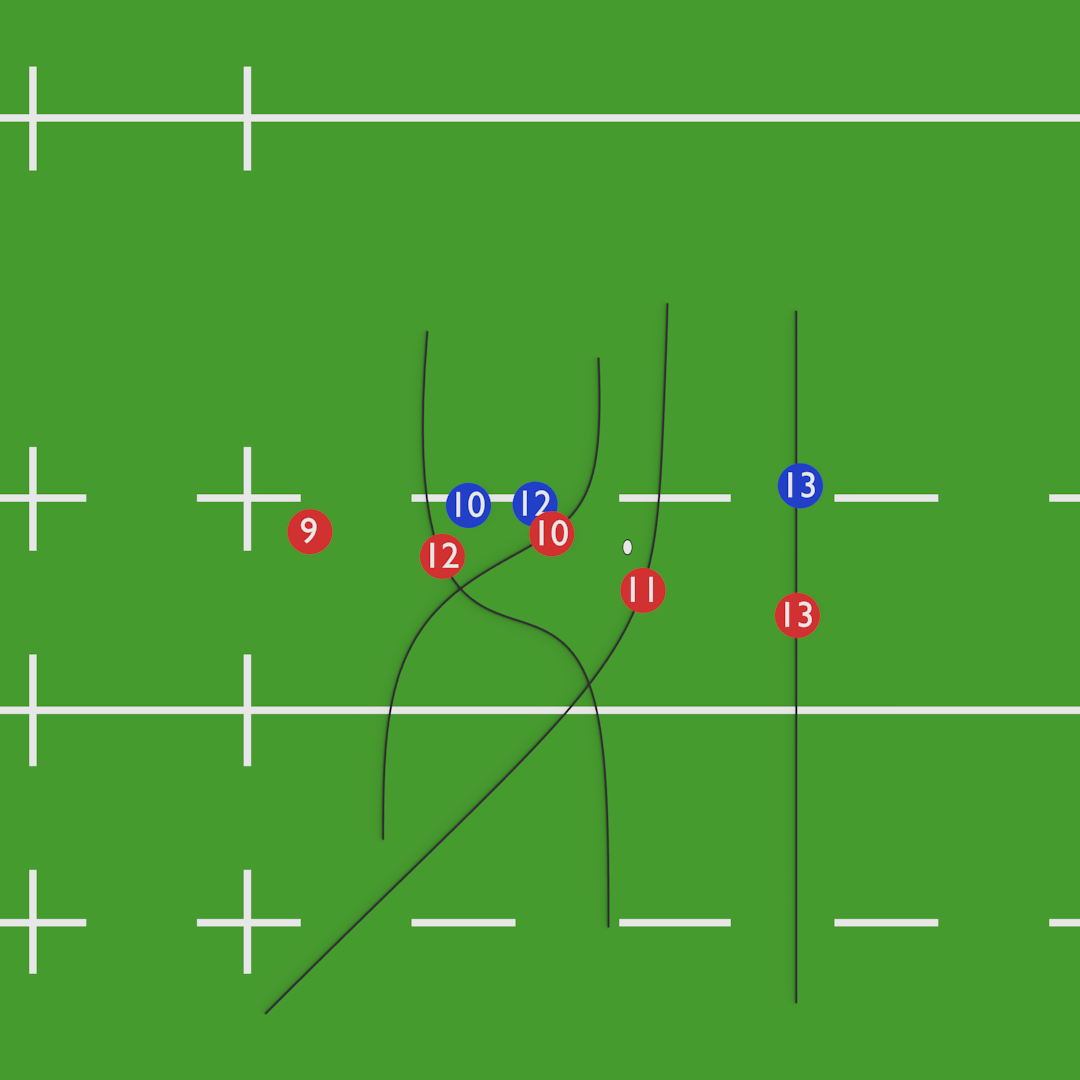
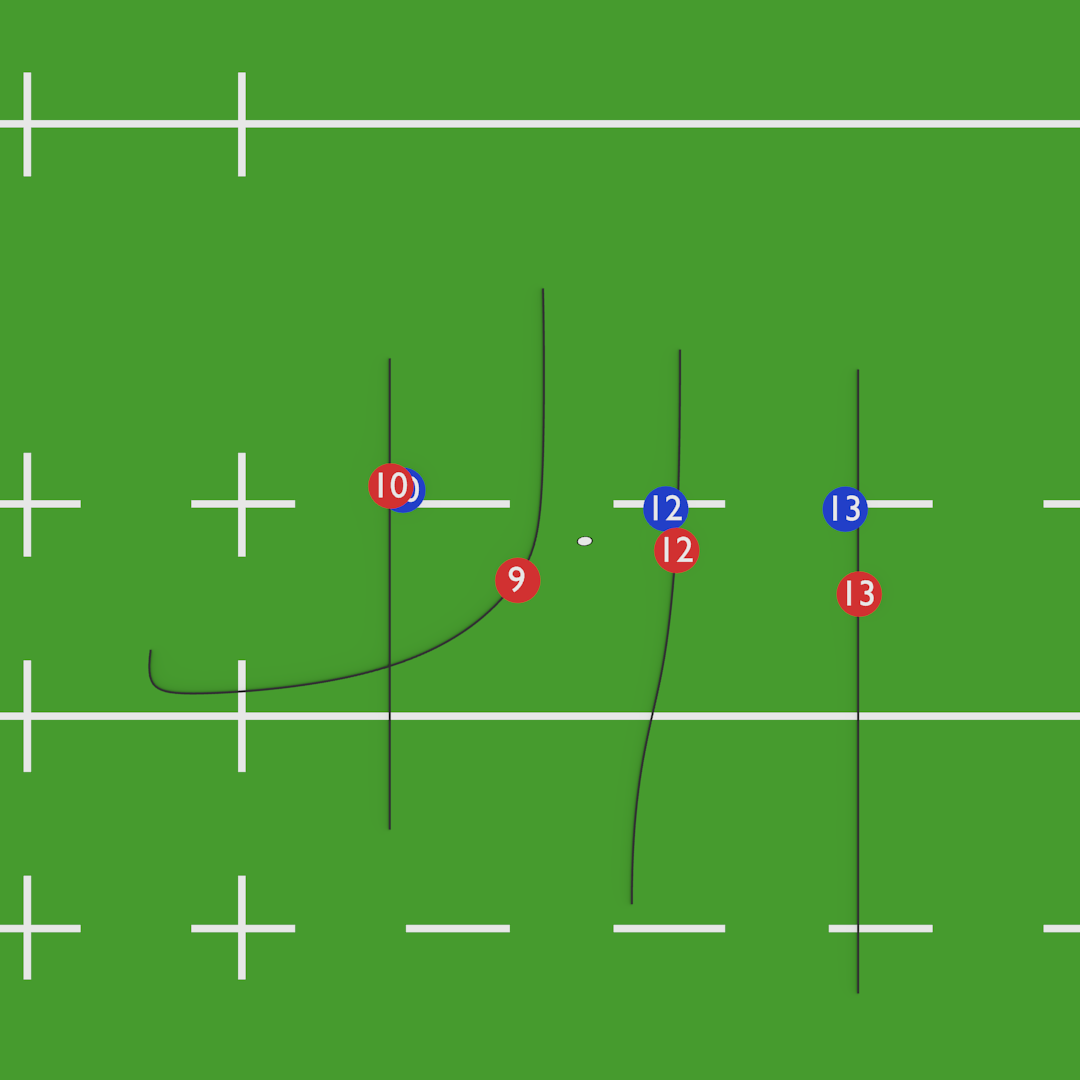
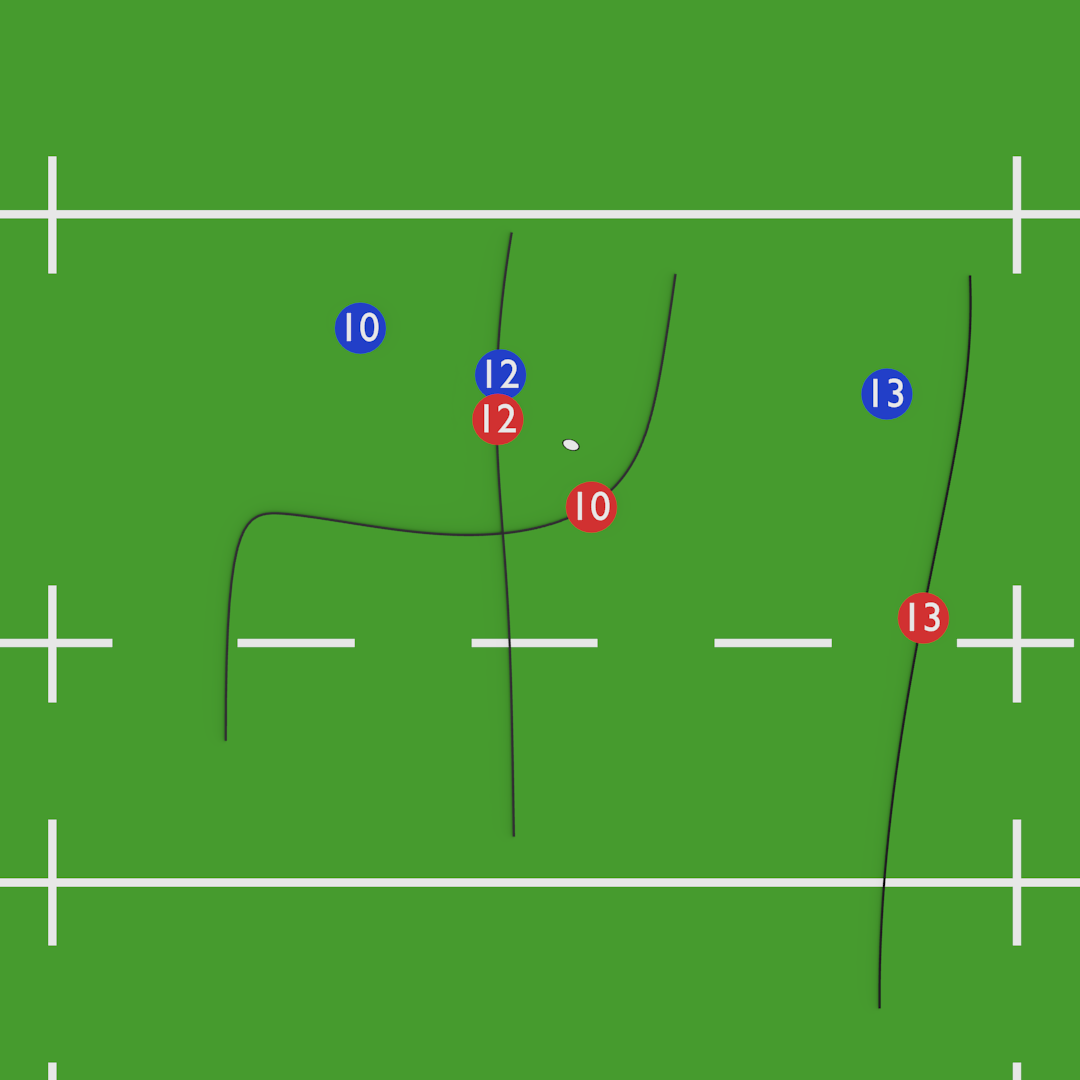
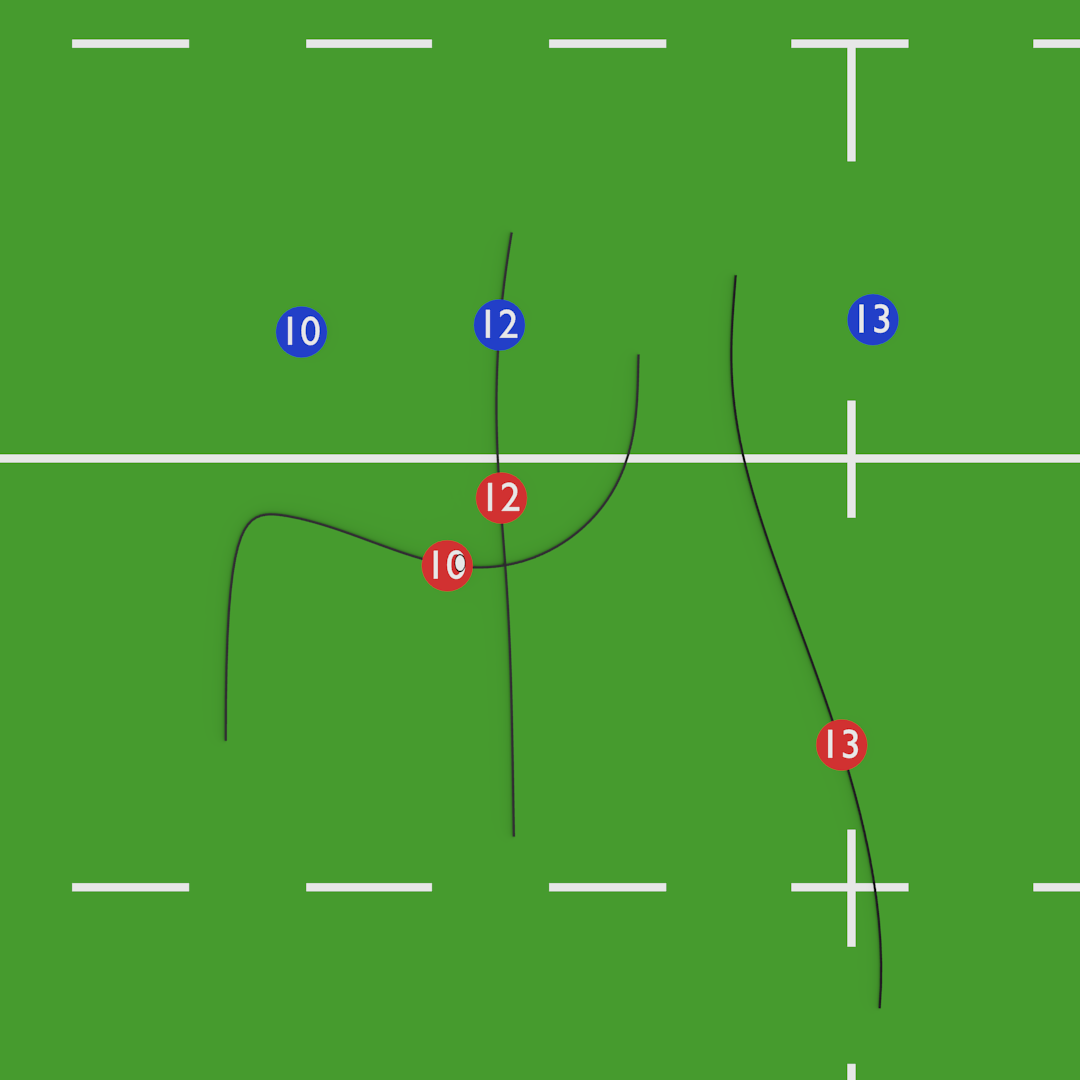
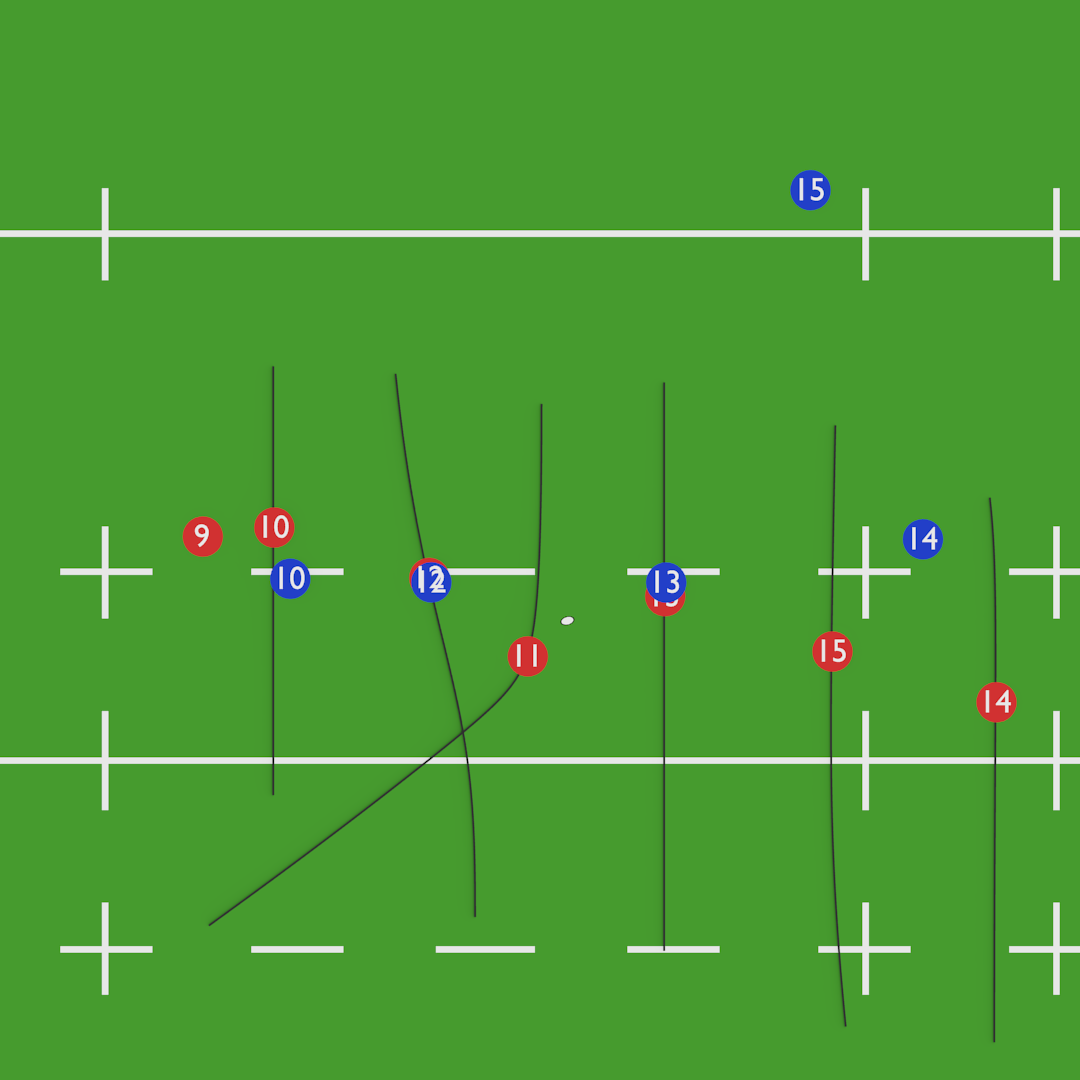
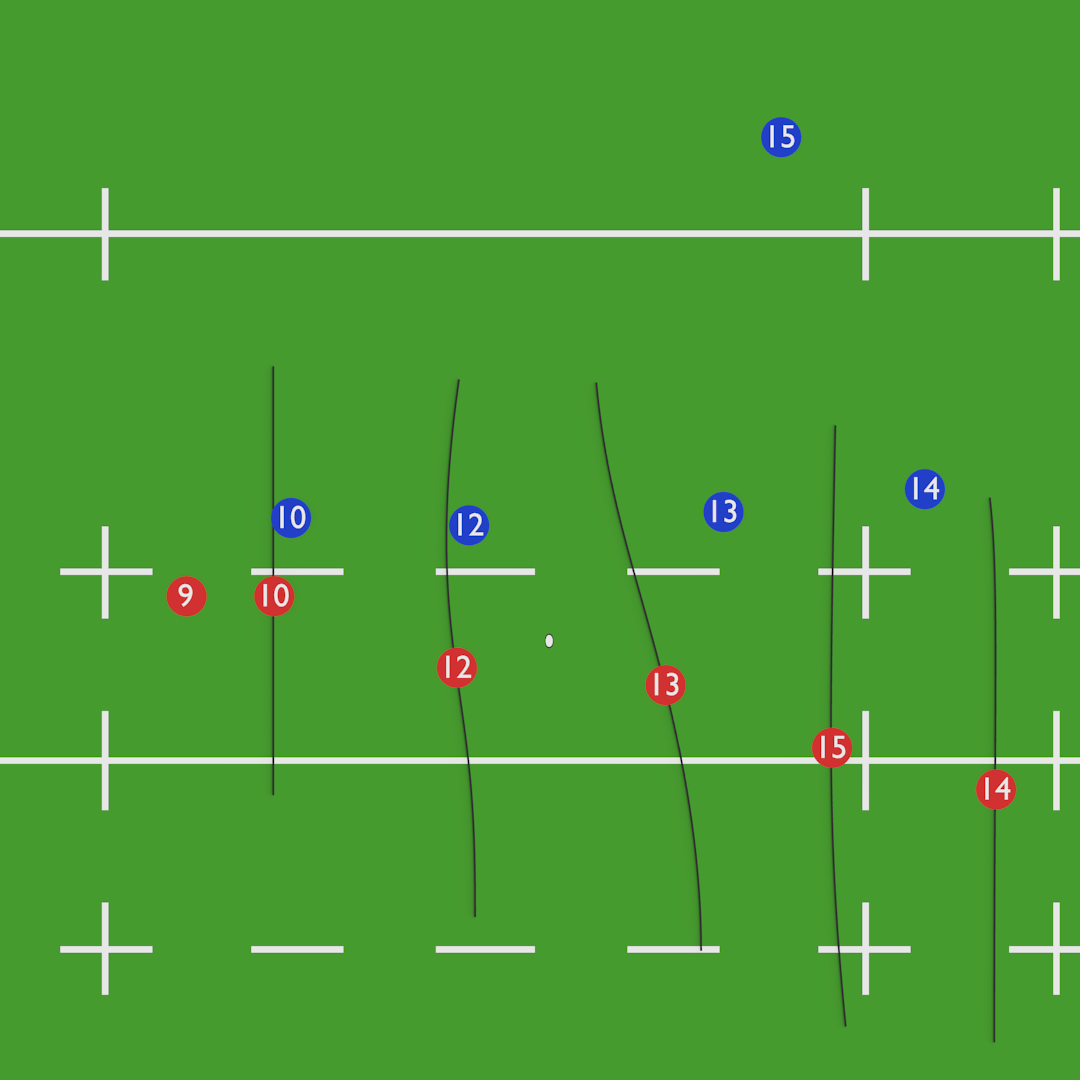
Dummy Switch 1 – Pop Outside to 11

Posted on November 26, 2019May 10, 2020 by rugbyslate
Continue reading
12 - 13, Backs Moves, Switch
Leave a comment

12 Inside Pop to 9

Posted on November 26, 2019November 29, 2019 by rugbyslate
Continue reading
12 - 13, Backs Moves, Crash
Leave a comment

Loop 1 – Outside Pop

Posted on November 26, 2019May 10, 2020 by rugbyslate
Continue reading
12 - 13, Backs Moves, Loop
Leave a comment

Loop 1 – Inside Pop

Posted on November 26, 2019May 10, 2020 by rugbyslate
Continue reading
12 - 13, Backs Moves, Loop
Leave a comment

Miss 1 & Inside Pop

Posted on November 25, 2019May 10, 2020 by rugbyslate
Continue reading
12 - 13, Backs Moves, Miss
Leave a comment

Miss 1

Posted on November 25, 2019May 10, 2020 by rugbyslate
Continue reading
12 - 13, Backs Moves, Miss
Leave a comment

Recent Posts

  • The Most Popular Rugby Backs Move
  • Shooter Defence
  • Flat Pods and Options
  • Manipulating the Defence – Separating the Forwards and Backs
  • Scrum Half Defensive Role
WordPress Theme: Donovan by ThemeZee.